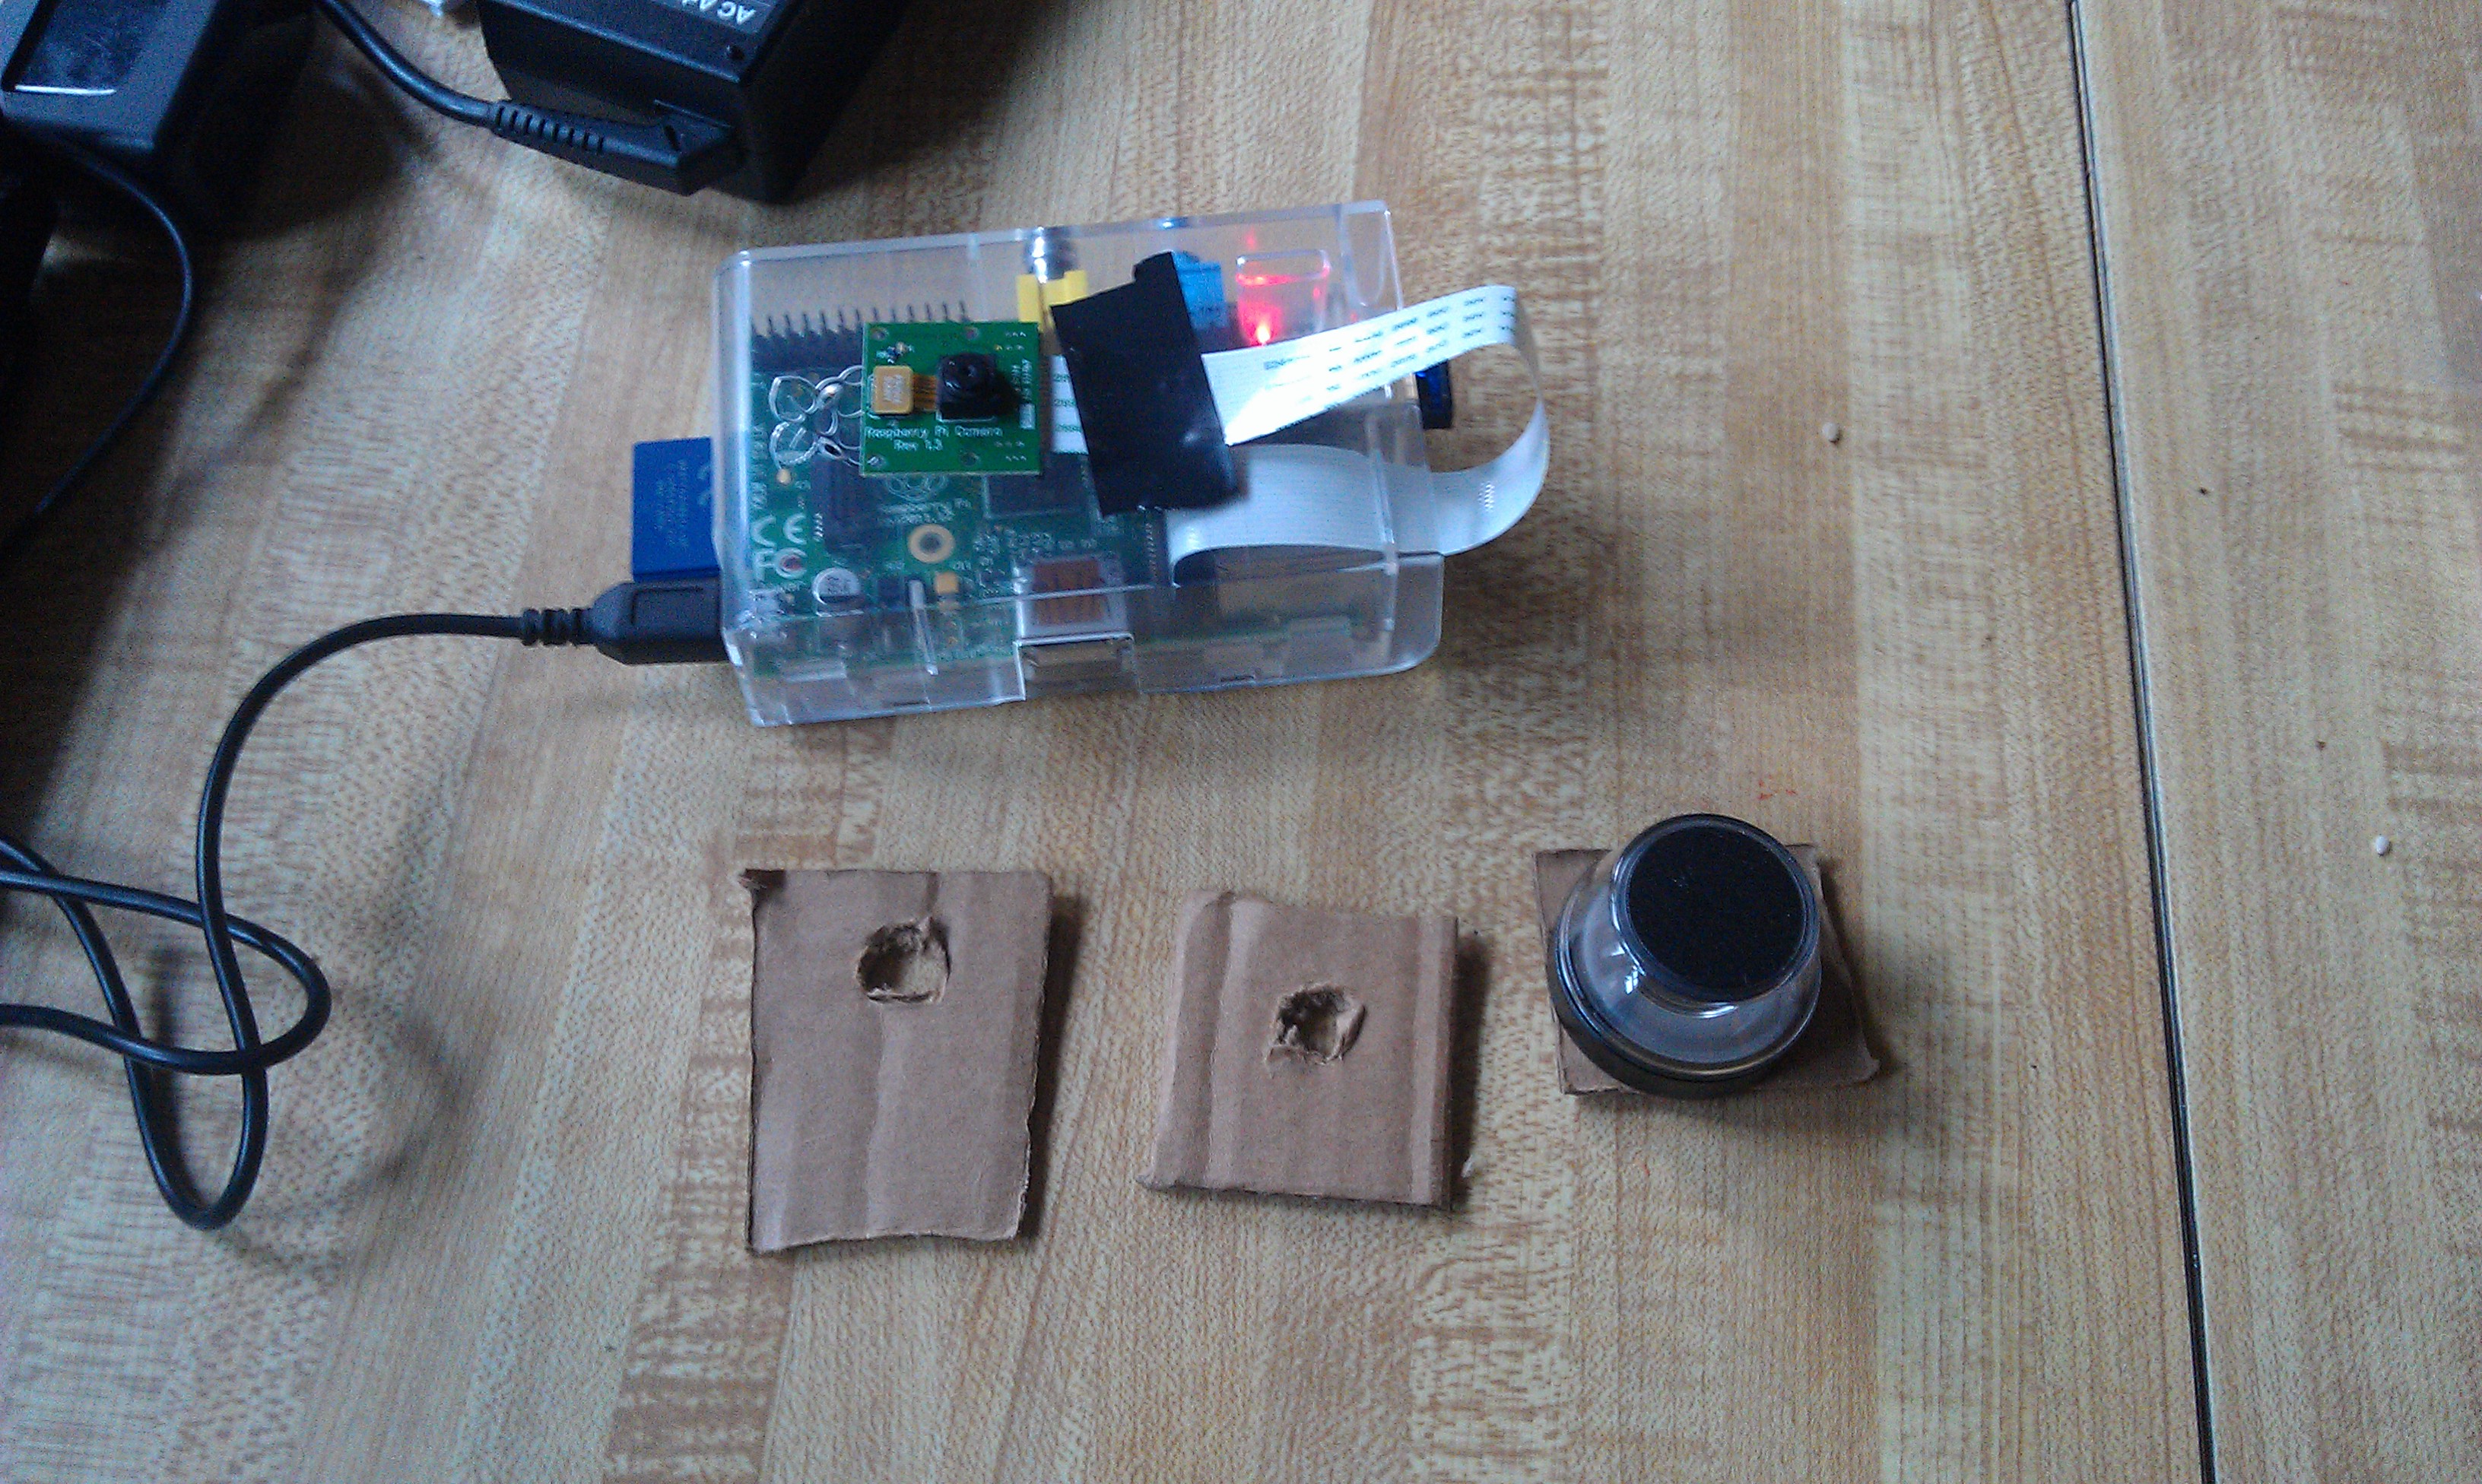
Pets, Plants, and Computer Vision
Header

ROS Industrial – Industrial Grade Awesome.

March 12th, 2014 | Posted by admin in automation | code | computer vision | demo | industrial computing | Industrial Internet | manufacturing | robots | Uncategorized - (Comments Off on ROS Industrial – Industrial Grade Awesome.)

)

Last week I had the pleasure of going to Southwest Research Institute (SwRI) to attend a ROS Industrial training session. I’ve been insanely busy for the past few months writing computer vision and other code for a fairly substantial Robot Operating System (ROS) project. I’ve been converted over to the dark side of ROS from OpenCV as ROS’s message bus, modular nature, and build tools are absolutely phenomenal. Hopefully a lot of that code will go back to the community once my employer signs the contributors agreement. I’ve gotten to know a lot about the sensor side of ROS but I wanted to round out my knowledge of the actuator side of things. This ROS-Industrial session seemed like a good place to do just this, and also get acquainted with more people working in manufacturing.

SwRI has always had a mythical place in my mind, mainly because all the cool kids got to go there when I got left behind at the lab. When I was in undergrad the RHex robot went there for testing, and while I was at Cybernet our DARPA Urban Challenge crew got to go there while I got to stay home and man the fort. A few months ago SwRI reached out to me and I asked if I could perhaps help with ROS Industrial. I’ve been trying to get some code and documentation done for them but I’ve been so busy I haven’t made as much progress as I would have liked. SwRI is currently the maintainer of ROS Industrial, and along with the OSRF they are making great strides to improving the usability of ROS in industrial settings.


The tutorials published and presented by SWRI were excellent and very well polished. They made a conscience effort to have the tutorials go from high level tutorials for decision makers all the way to nuts and bolts code introductions for programmers and integrators. I really hope the publish more of the tutorials as they were exceptionally well put together, relevant, and well thought out. To be certain what SwRI is trying to accomplish with ROS industrial is no small feat, as you can see from the video of of their 2013 Automate Demo video at the top of the page. At the the ROS Industrial training session SwRI walked us through the high level architecture of this system (all of the components are FOSS software!) at a level where I think I could probably recreate it given a few weeks of coding. For a single day session I thought they covered a lot of ground and the demos they had of ROS industrial were incredible. In addition to the 2013 Automate demo they had a another robot doing arm doing an exceptionally complex deburring maneuver around an complex bent puzzle piece. Another demo showed an on-line object tracking and path planning demo for robot finishing of automotive parts. I capture a few of the demos in a short video.

In addition to the tutorials I picked up a few new and interesting libraries from the other attendees. One that stood out was MTConnect which is a free and open XML/HTML standard for robots and CNC software to communicate their state and status. It looks pretty cool and there are already some open libraries out on github. Another cool suite of tools is this EPICS PLC communication package put out by Paul Scherrer Institute in Switzerland. There also seems to be a mirror of it by Argonne National labs. Apparently CERN uses a lot of PLCs and they were insistent that all PLCs used at CERN had open Linux drivers. EPICS stands for Experimental Physics and Industrial Control System. I haven’t looked too deeply into the package but it seems like it could be handy.

Dewarped Panoramic Images From A RaspberryPi Camera Module

August 12th, 2013 | Posted by admin in code | computer vision | demo | pics or it didn't happen | python | RaspberryPi | signal processing | SimpleCV | Uncategorized - (Comments Off on Dewarped Panoramic Images From A RaspberryPi Camera Module)

I got back from my cross country trip and in my mail box was a brand new RaspberryPi camera module from Element14. I needed a chill night at home so I setup the camera module and decided to see what I could do with it. After upgrading my pi to the latest version of wheezy and doing the requisite setup for the camera and the wireless card I was getting images. The setup for the camera module is fairly easy and wheezy has a few really nice command line programs for capturing, compressing, and delivering images to a remote host. The RPI foundation has a nice tutorial here. I am *extremely* impressed with the quality of the RPI camera module, the image quality far exceeds that of the built-in cameras on my macbook air and my lenovo laptop. At full resolution the camera module’s image quality is akin to a point and shoot camera from a few years ago. Not a bad feat for $20.

I wanted to do some interesting processing from the camera images. Given the performance of the pi using python I opted to look for an approach where I would use the pi as a dumb ip camera and process the images on the remote host. I remembered that I had a Kogeto 360 degree camera for iPhone in my basement. I don’t have or want iPhone so the lens was useless to me as is. After some careful twisting and prying I was able to remove the lens from the mount. I decided to whip up a quick adapter using just some silly putty and cardboard.

Parts for my hacked camera shim.

Parts for my hacked camera shim.

Since my RPI camera module is just loose, and not mounted to anything, I needed a non-destructive and quick way to attach the lens to the camera. I created three cardboard shims using my pocket knife, one that fit snugly to the camera, one that fit snugly to the protrusion on the lens, and one to space the two parts out. I used silly putty to “glue” the boards together while allowing me to slide them around to get the alignment just right. Silly putty works great for this as it is non-conductive and easy to pick out the RPI camera board without breaking it. Also cleans up fairly easily. After a little of trial and error I got a working prototype.

The final assembled lens shim. Hopefully I can CAD up a permanent one and 3D print it soon.

The final assembled lens shim. Hopefully I can CAD up a permanent one and 3D print it soon.

I switched on the raspberry pi and started getting images. The 360 degree camera doesn’t use the full image frame. Instead it projects a donut onto the image plane that we can dewarp to get a full panoramic image. The image below shows most of an input image with the dewarped result overlaid.

The input image with the dewarped image over laid at the bottom.

The input image with the dewarped image over laid at the bottom.

You can see that input image has a basically a “doughnut” where the actual image appears, the rest is just noise. You can see a minute of raw camera video here to get a better sense of what I mean. The trick to do the dewarping is to take that doughnut, put a slice in it, and uncurl it to a rectangle that looks like a normal image. To do this you need to figure out a couple things, the center of the doughnut, the radius of the “doughnut hole”, and the outer doughnut radius. Once you have this stuff the mapping for the camera is basically translating every point in the destination image to a point in the source image using a radial (r,theta) representation. I posted the notes from my notebook to give you a better idea of what I did.

Doing the doughnut mapping from the destination image to the source image.

Doing the doughnut mapping from the destination image to the source image.

I coded this all up in python using the cv2.remap function. For this function you just create a list of every pixel in your destination image and tell it where to point to in the source image. It takes awhile to create the map because I used naive python looping, but once the map is created the mapping can be done in nearly real time. I tossed the code into this github repo. It took me a bit of time to figure out that mapping was from destination to source versus the other way around. I am also still having some problems with encoding the output video so I just dumped them to file and had ffmpeg stitch them back together into a video. Here is my first draft of the code (a bit of a hack).

I used a quick command line ffmpeg call to stitch the still frames I produced back into a video so I could post it YouTube. This is a really neat feature of ffmpeg that has saved me quite a few times. the raw command is (avconv -r 32 -f image2 -i ./FRAME%05d.png -b:v 1024K output.mpeg).

Hopefully when I get some time later next week I will modify this script to perform dewarping on live streams from the RaspberryPi. I also would like to fab a legitimate adapter using a 3D printer. If I manage to get that done I will toss the design files in the github repo and thingaverse.

Tapsterbot Mark I

July 10th, 2013 | Posted by admin in automation | Automation Alley | demo | Fun! | pics or it didn't happen | python | robots - (Comments Off on Tapsterbot Mark I)

I’ve been working on creating a clone of a Jason Huggins’ tapsterbot, parallel robot in my spare time . I wanted a friendly desktop robot that I could play with to prototype some computer vision applications. Jason was kind enough to open source the code, the BOM, and and all of the design files in a handy github repo. To build the robot I got a membership to the All Hands Active hackerspace here in Ann Arbor so I could fab the parts. All I really needed to build the robot was a 3D printer and a laser cutter. The robot has a really simple design that only requires a few nuts and bolts, three $8 servos, and an arduino for the controller. Once I got the parts it took me a little over a day to build the thing. I had a few slip-ups along the way so I wanted to collect all my knowledge in a blog post. Jason provided me with a ton of awesome photos of the robot in action so I could figure out how to piece it together. One critical component was how to correctly mount the robots arms onto the servo. Jason has provided an awesome video that shows you how to do just that. I now have everything assembled correctly and I plan to take it all apart and provide step by step instructions on how to put everything together. Currently the robot runs using node.js and I am making a python port using PyFirmata. With any luck I should have that work done within the next week and be able to show some more impressive demos. The first thing I want to do is build a path planning algorithm so I can prevent the tapsterbot from accidentally crushing its own arms or swinging into the legs that support it (I’ve already broken an arm). I’ve been reading up on the robot’s inverse kinematics, but I am not sure it lends itself to a closed form solution.

Solving Autostereograms AKA Magic Eyes

July 10th, 2013 | Posted by admin in birds | computer vision | demo | Fun! | OpenCV | pics or it didn't happen | python | signal processing | SimpleCV - (Comments Off on Solving Autostereograms AKA Magic Eyes)
shark

shark

This week I’ve been playing with autostereograms, also called magic eye images. MagicEye images were big in the 90s when I was a kid/teen and every mall had a kiosk peddling framed copies. I wanted to see if I could reconstruct the depth map from the image using a little bit of image processing. Autostreograms work because your eye/brain is really into creating stereo depth maps, and if you set your eye’s focus at a point behind the image your brain basically goes a bit haywire and tries to build a depth map in the plane of the image. Getting your vergence point to sit behind the image plane requires some practice; so if at first you don’t see the image keep trying. I really recommend reading the wikipedia article linked to above as it is really well written with a lot of fantastic diagrams.

HORSE

To do this project I created a small data set of “wall-eyed” random-dot autostereograms. There are other kinds of stereograms, that can be viewed in different ways, but I felt the random-dot ones would be slightly easier to decode. The basic premise is that for every small set of horizontal pixels there is a corresponding row of pixels some distance away. The distance between the matching rows segments is what your brain uses to get the depth map. The matching of the rows of pixels is periodic with a period related to the vergence distance you must view the image at. Figuring out the period of the image is easy, if you look at the image you can basically see columns of pixels. For most autostereograms there are usually between 6 and and 20 for a normal image, the horse image above has seven instances of the repeating patern. If you have an image that is 600 pixels wide, with about six columns, the pixel, or set of pixels at [0,0] will have a correspondence at roughly [100+d,0], where the value of d is the depth value.

BIRD

I baked up a naive algorithm in about 90 minutes and had an early prototype. The basic idea is that you iterate over the rows in the image, and for a small chunk of pixels in that row (roughly ten pixels) you search a window around where the correspondence should exist, and then record that value in a depth map. So for our example image 600 pixels wide, you would try to match pixels [0:10,0] with [100:110,0], [101:111,0] and so on until you found a decent match. For my first example I used the gray scale sum of absolute pixel differences. You could do a correlation, but I thought that the simple solution should suffice. It is worth noting that you can also move up to frequency space and do a multiplication of the spectra but that seemed like a lot of work. I googled a bit and found this example that does just that. That solution seems to get stronger edges, and work on a few different kinds of stereograms, but I would argue mine gets betters depth maps.

My first pass, using naive python looping worked but it was as slow as molasses in January. I decided to see if I could speed things up. The first speed hack I tried was to use an integral image. An integral image is an image where each pixel is the sum of the pixels above and to its left. Integral images are great if you want to calculate lots of different average values across an image really fast, and they are what makes Haar Cascades and face detection possible. In an integral image, once the integral is computed, the sum, and average of any area in the image can be computed with in just four look-ups, and three additions, which is a decent time savings. I modified my code and got maybe a 10-20% speed up (I didn’t bench mark it). Since the operations are done row-wise and each row is independent of the next one this algorithm is really well suited to parallelization. I decided to try my hand at doing some image processing using the python multiprocessing library. It took me about an hour to chunk out the code and get everything running, but it did improve performance significantly (a little less than 4x). I need to go back and refactor the code to deal with some bounds issues, which is causing the horizontal lines in the image, and perhaps use shared memory, but the results are well worth the effort. You can take a look at the code for yourself at this repo, I’ve put a gist of the code below for reference.

If I get some more time I want to see how much of a speed up Numba can get the naive implementation and possibly do some bench marking of the different approaches. I also need to remove the banding caused by the multiprocess “chunking.” The algorithms performance seems to be very dependent on the search window size so I would like to find a more robust way of determining the size of the search window, possibly by looking at low end of the FFT spectrum.