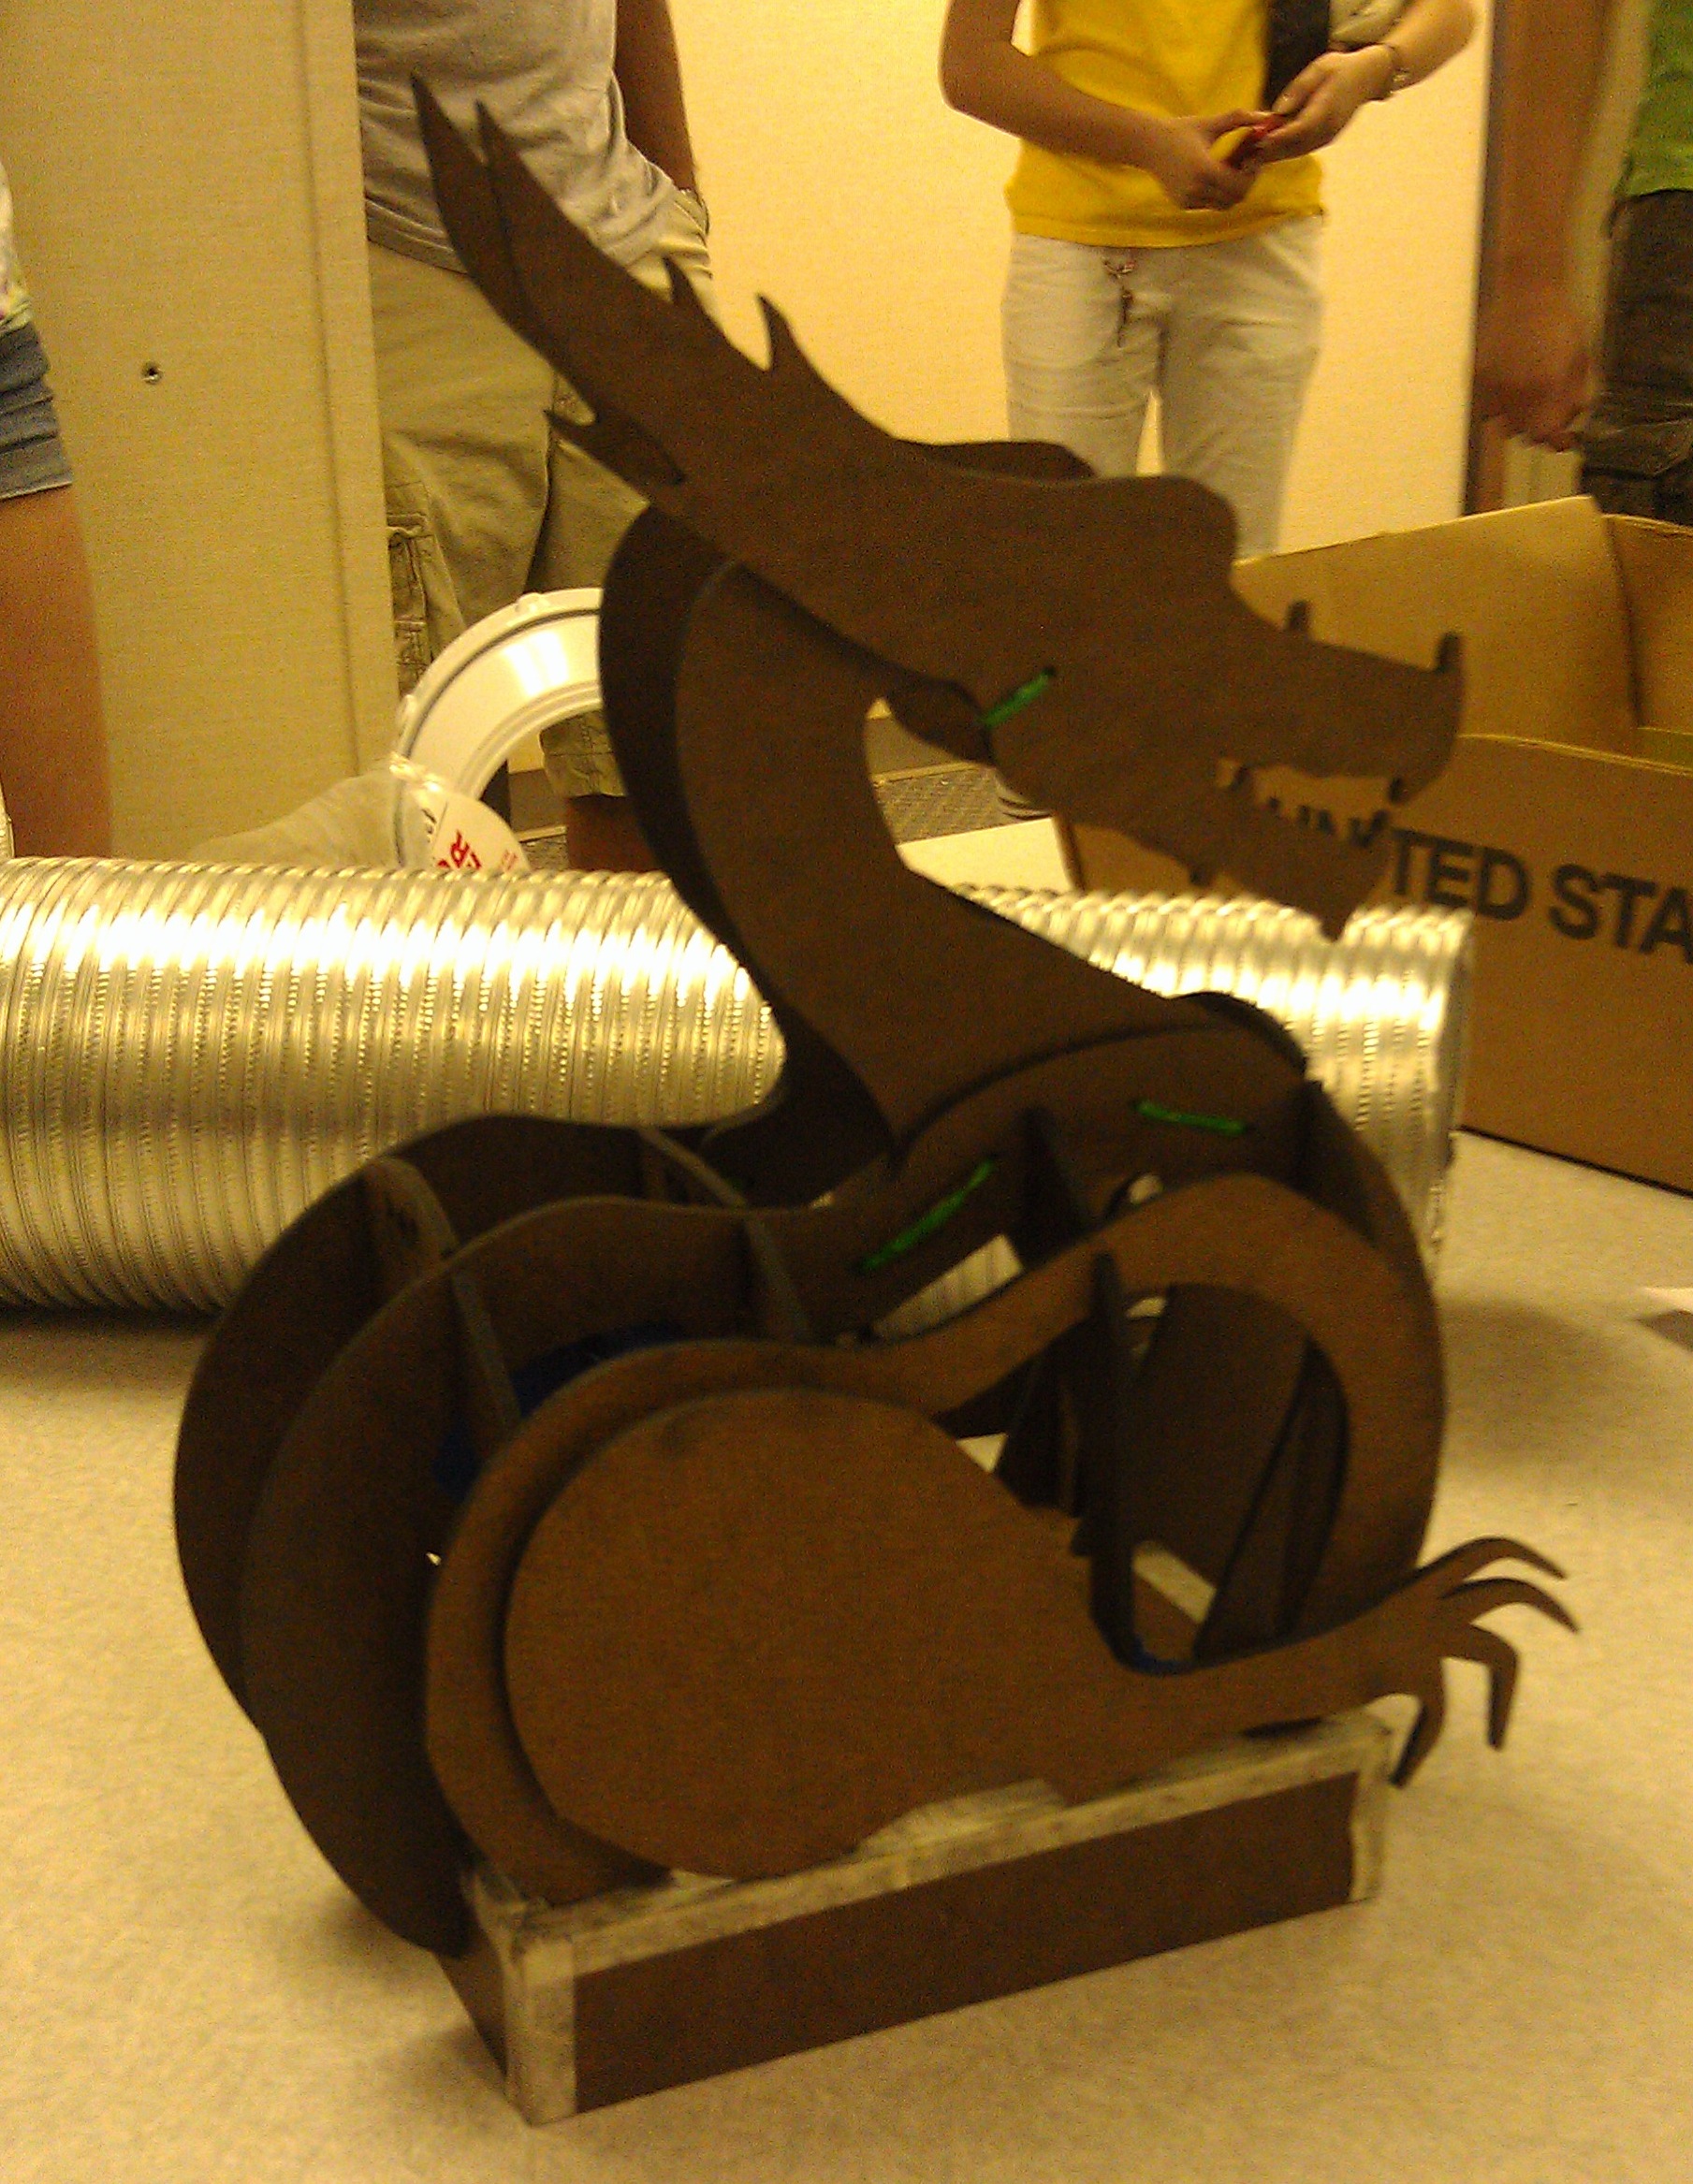
Dragon Bot Scale Model
FRC 830 has been collaborating with FRC 3322 to build a giant dragon robot for Maker Faire Detroit. I just got back from my trip and a chance to check in with the kids. The goal is to have a giant robot that plays sounds, shoots smoke rings, drives, lights up, and has animatronic eyes and eye brows. The students have prototyped an eye assembly using some servos controlled by the PWM ports on the cRIO side car. The eyes are controlled using the analog joy sticks on the gamepad. After a little bit of debugging we were able to get the animatronic eye assembly running this afternoon.
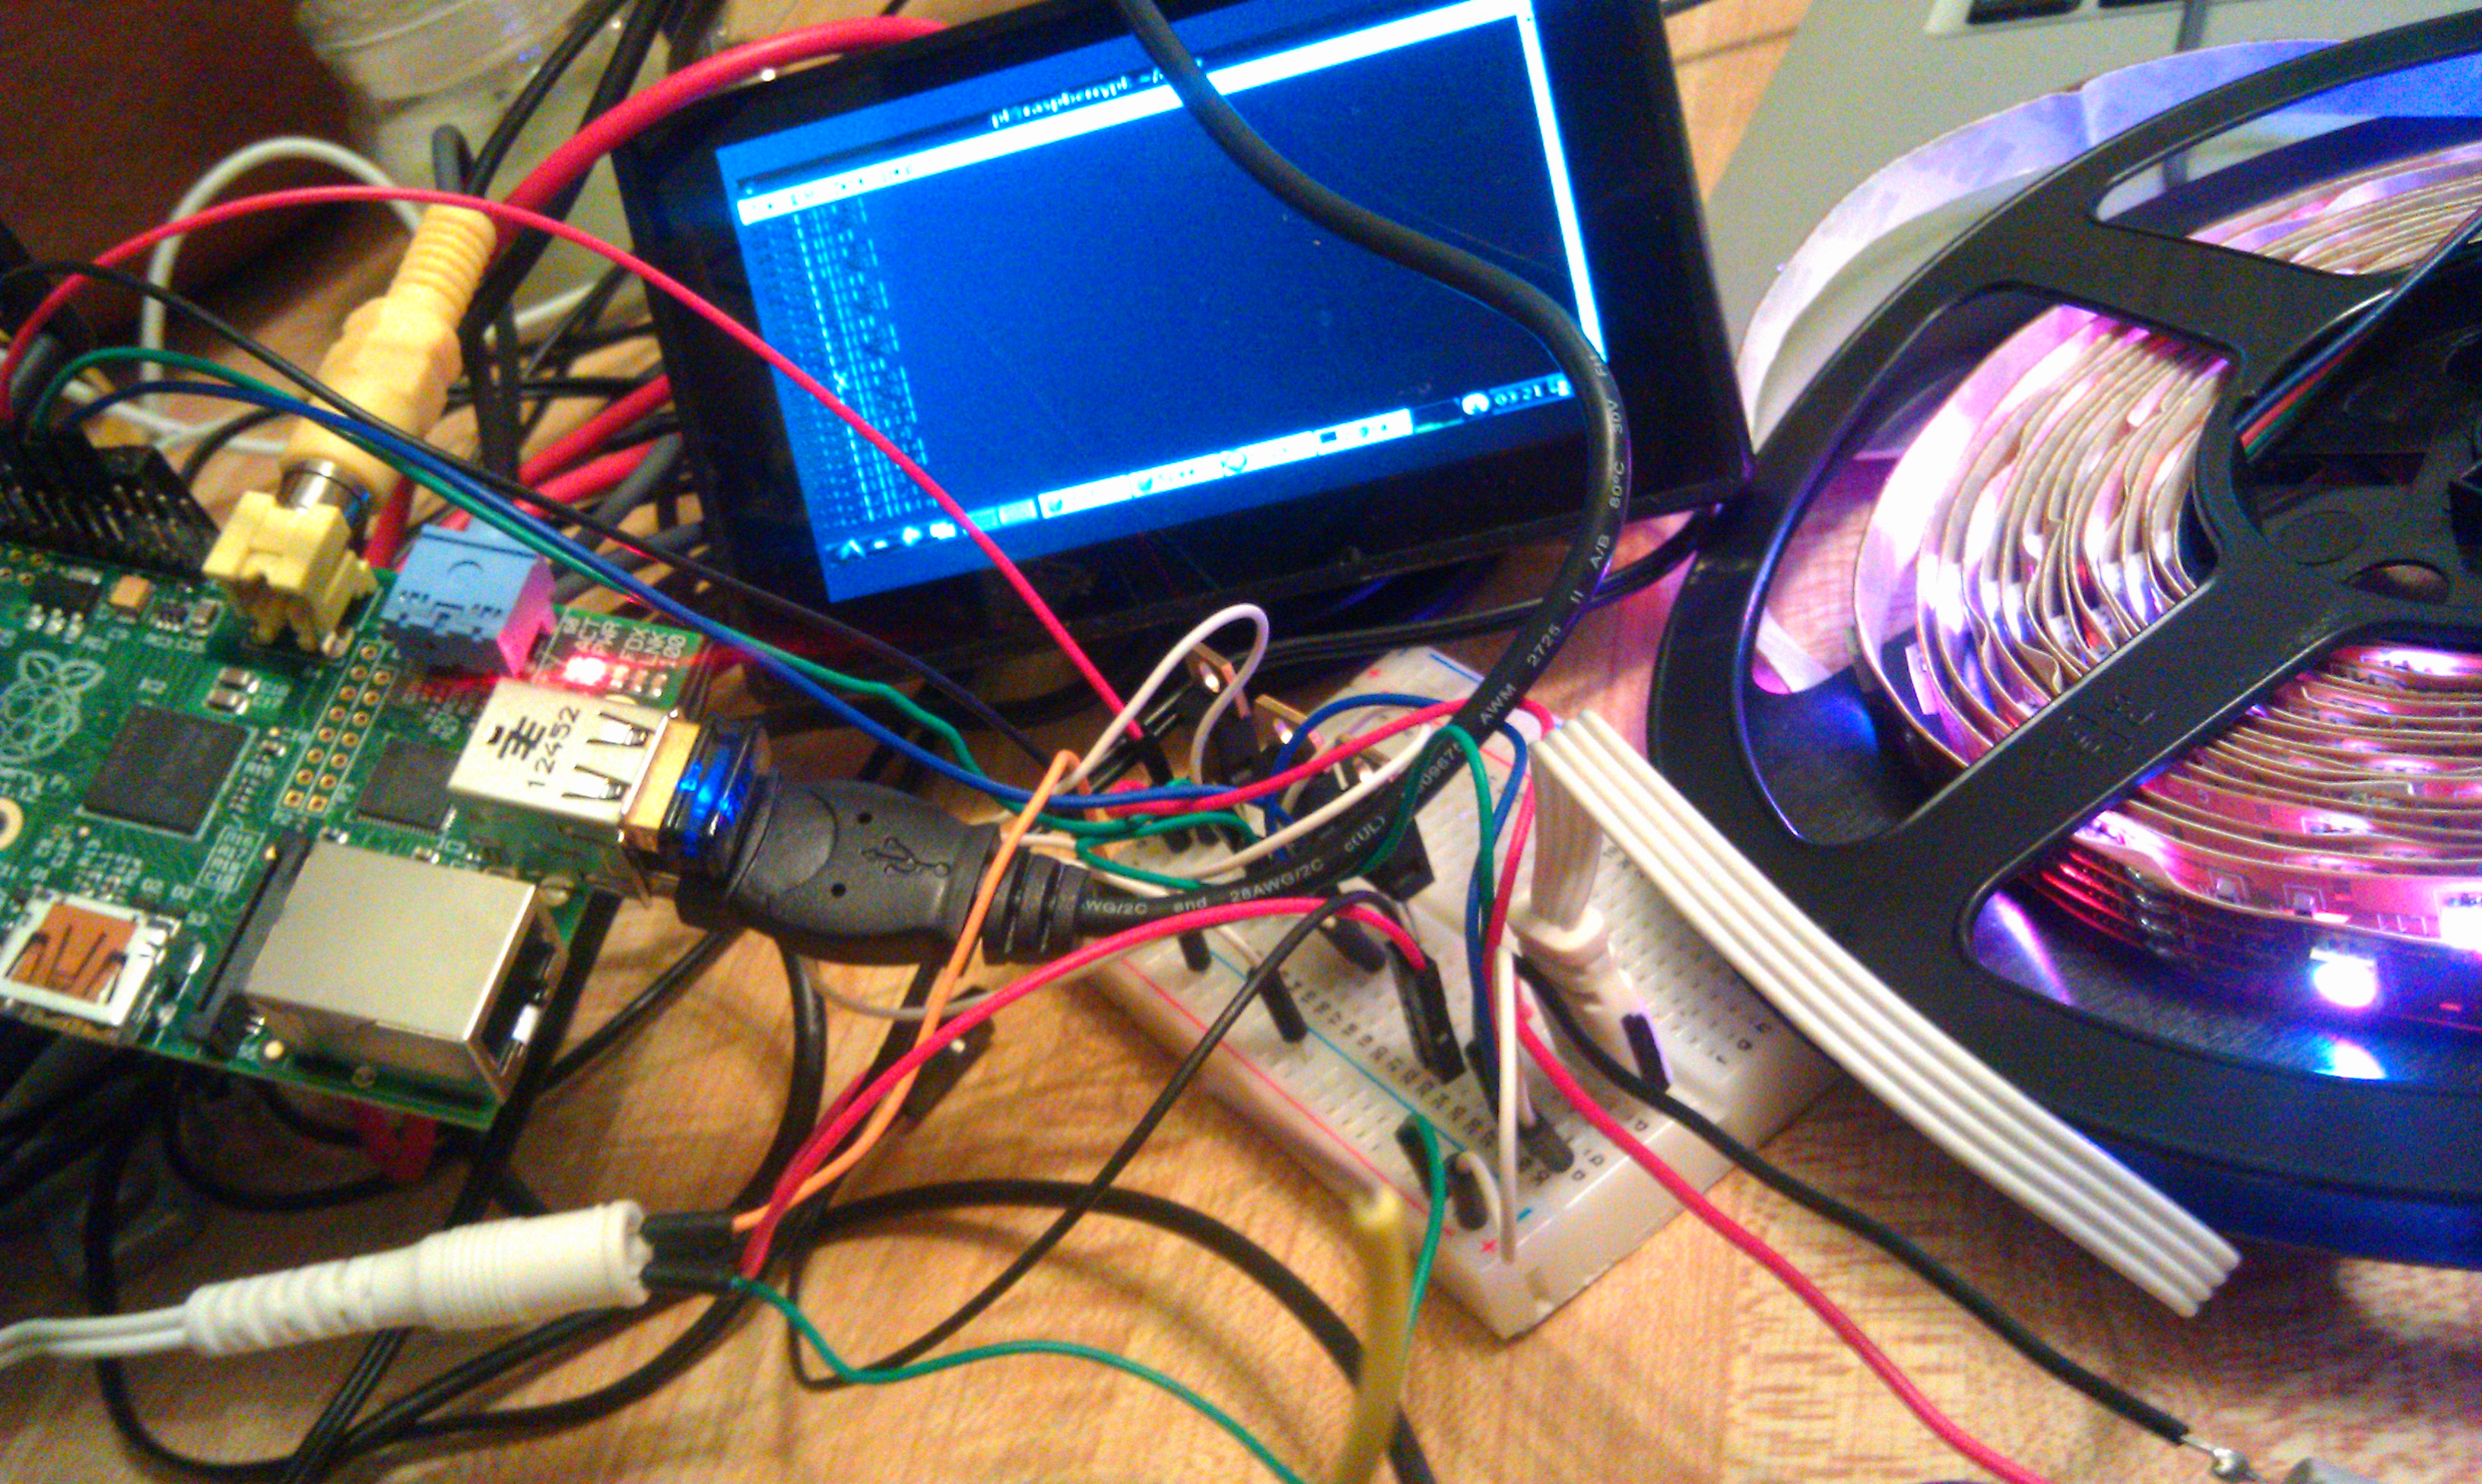
Another one of the students was able to build a small GPIO driven relay system to control the smoke machine which we plan to power using a second battery and a car inverter. In my spare time this week I was able to cook up a client-server system using RabbitMQ and get it running on the RaspberryPi. The only real trick was setting up the RabbitMQ conf file to run on the space constrained RaspberryPi. This is a little bit outside the scope of the kids ability, but now that I have a sketch working they should be able to take over. The hope is that we can use PyGame and ServervoBlaster to control the lights and sounds on the robot. I want to roll a GUI front end for this using pyGTK. The result looks like this (I now have the GTK gui running).
Mwaaaaahahahha. by @kscottz