This video was uploaded from an Android phone.
PLASMA CUTTER AT MAKER WORKS
July 31st, 2012 | Posted by in pics or it didn't happen - (Comments Off on PLASMA CUTTER AT MAKER WORKS)Hard Boiled Egg vs. Rats
July 25th, 2012 | Posted by in pics or it didn't happen - (Comments Off on Hard Boiled Egg vs. Rats)This video was uploaded from an Android phone.
Homemade Massage Bars
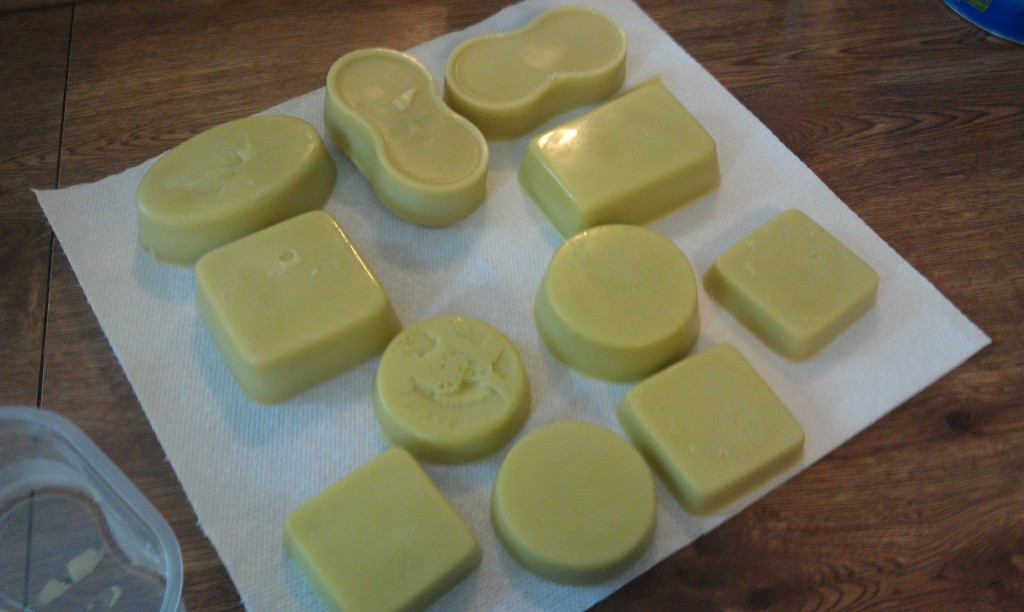
July 16th, 2012 | Posted by in Uncategorized - (Comments Off on Homemade Massage Bars)My aunt and I made soap this weekend along with massage bars. Massage bars are basically a mixture of solid, semi-solid, and liquid fats where the melt point of the resulting product is near human body temperature. In most cases you use bees wax as your solid fat, shea or coco butter as your semi solid fat, and some form of liquid oil like coconut or almond oil. With this mixture you get the moisturizing properties of the oils along with the protective properties of a wax. While they are great for massages, I mainly use the bars on my feet, hands, knees, and elbows in the cold winter months. I also find that the bars help to smooth out my hands after a long day of gardening. The general recipe for massage bars couldn’t be simpler.
- One part solid wax (like bees wax, soy wax may work too, measure this by weight).
- One part semi-solid wax like shea of coco butter (by weight).
- One part oil by volume (almond, olive, grape seed, coconut, etc)
- Some small amount of essential oils.
You then heat the wax until it melts, add the other ingredients, stir, and pour into your mold. Changing the fat types and ratios will vary the consistency of the bar. I suggest you refer to a guide on the melt temperatures of fats and oils to estimate your bar’s melt point. You can tweak the mixture a bit to find the optimal consistency for you.
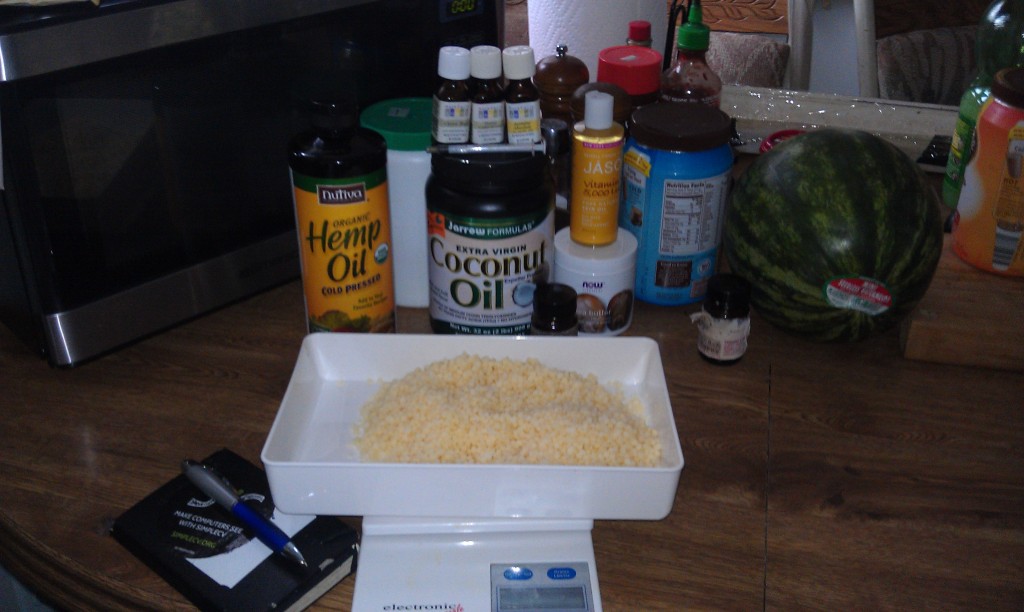
For the bars I made I used the following recipe:
- 10oz Bees wax
- 7oz Shea butter
- 4oz Hemp oil
- 1oz Vitamin E oil
- 4oz Whole coconut oil
- 1Tbs Liquid lanolin
- Essential oils (one batch had 2ml of jasmine essential oil and 1ml of lavender. The other batch had 2ml of cedar, 1ml of clove, and a dash of lemongrass).
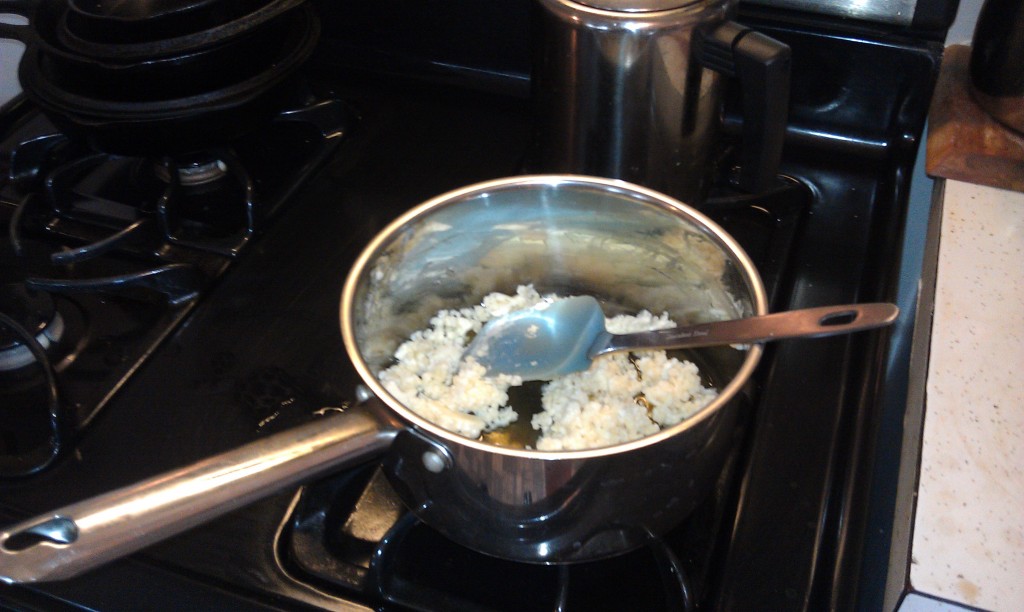
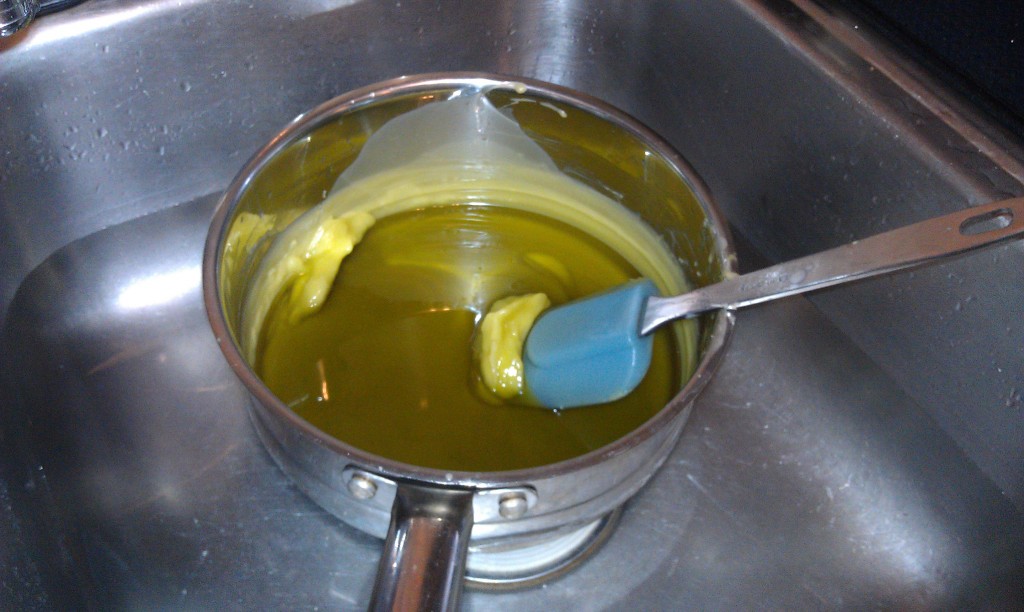
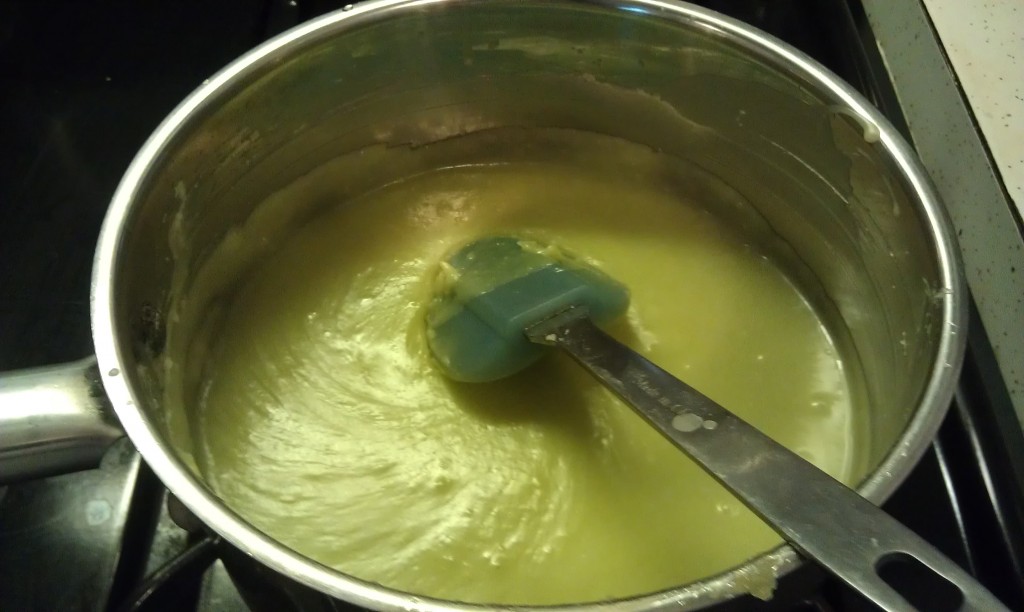
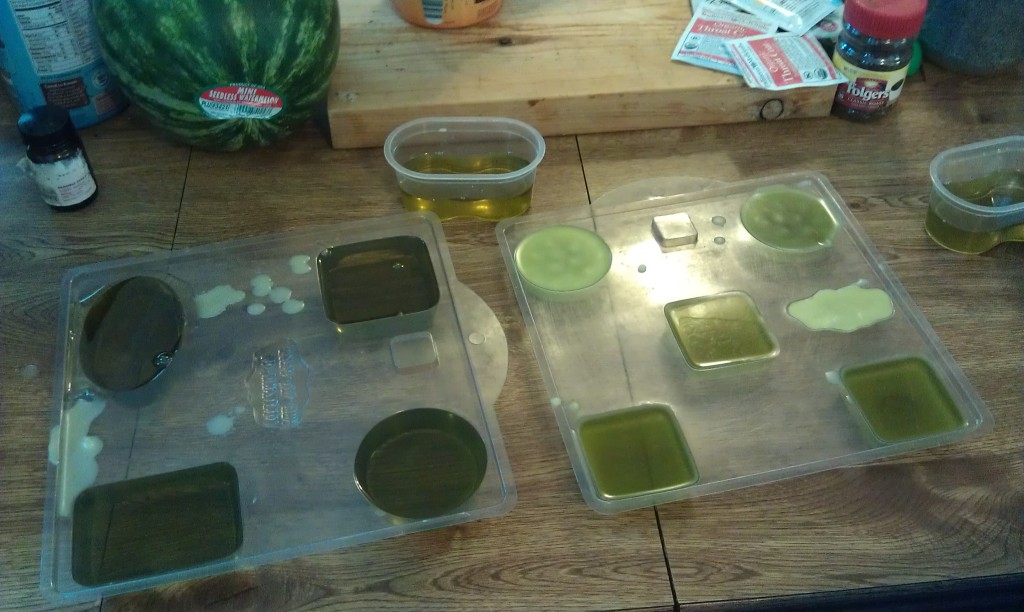
Over a very low heat I first melted the beeswax and then added the other oils and fats. Tempered the mixture to improve its consistency. Tempering consists of cooling off the mixture and then reheating it. For this I used a sink with about two inches of cold water. Fats, oils, and waxes are natural organic polymers. The tempering process is vaguely similar to annealing in metal in that it it allows the long chains of fats and oils to combine together into longer and more interesting chains. Tempering is not necessary but it is supposed to improve the properties of the finished product. Once the mixture heated up again I added the essential oils and then poured the mixture into molds.
This batch turned out excellent, but I do have a few critiques. I used unrefined hemp oil and it made the mixture slightly green tinted, next time I would use refined hemp oil. If I to do it again I would also use slightly more cedar oil. Once the bars cool they pop right out of the mold. I wrap them in wax paper and then store them in a cool dry place. Be sure to cleanup promptly (while everything is hot). If you wipe off the excess mixture with a paper towel everything cleans up in the sink pretty quickly.
For what it is worth I get most of my supplies at either Amazon, Bramble Berry Soap, or the People’s Food Co-op in Ann Arbor.
Perler Bead Project
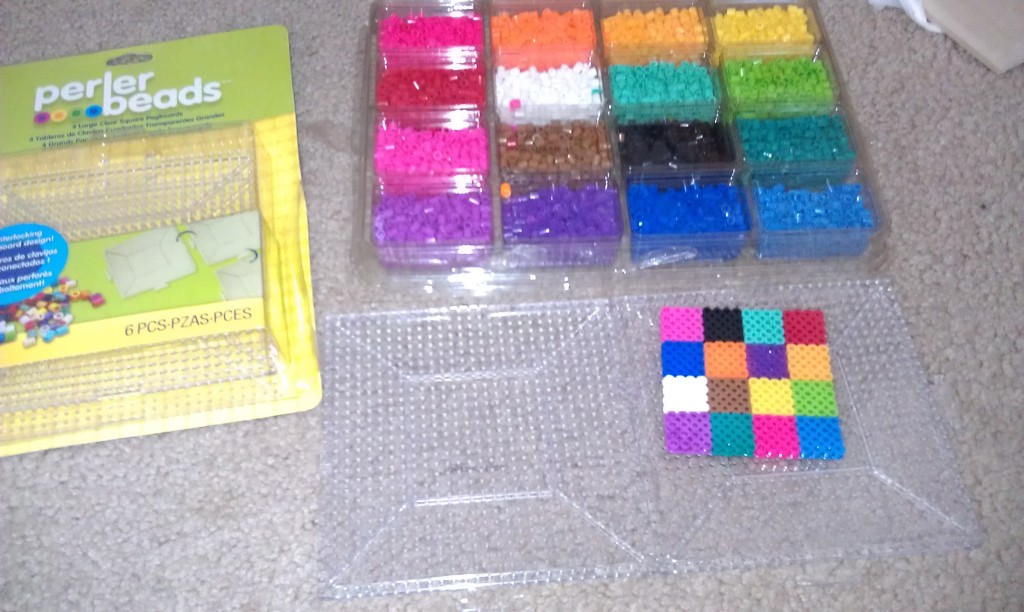
July 2nd, 2012 | Posted by in code | computer vision | domestic life | Fun! | Uncategorized - (Comments Off on Perler Bead Project)So I had to run to Jo-Ann fabric for a few odds and ends. My Mom gave me a couple of 50% off coupons and on a whim I purchased some perler beads and a tray for about $10. Perler beads are this kids craft where you patiently place little plastic beads on tray and then fuse them using an iron to create various toys. I am pretty sure that the beads themselves are just a ruse by the vacuum cleaner companies to sell more powerful vacuums.
I wanted to see if I could use SimpleCV to map images to pearler bead colors to create little coasters from my photos. I took the beads and created a square calibration grid so I could pull out the colors. I then quantized the image to a palette and saved the results.

This is what the calibration grid looks like when I quantize it to have 16 colors (note that this result is not repeatable because of the k-means calculation’s initial conditions).
To test my approach I used an input image (in this case Lena), pixelized the image to match the perler bead grid, and then re-applied the quantization to the pixelized image. The results are not that great.
There are about five colors in the output image and it seems to lose a lot of its information. I did some digging and found that two things seem to be going on. First, the quantization step seems to have some bad initial conditions. This is to say that I take the image and try to cluster the colors in it into 16 groups using k-means. If the algorithm starts with a bad initial condition a lot of the clusters “run into one another” and I end up with less than 16 color groups. The other problem is subtler and has to do with image dithering. I anticipated that this might be a problem because gif images also use a quantized color palette (for gifs it is 256 colors) to compress the image size. Back in the old days of the web you would use a technique called dithering as part of your gif compression algorithms to make photographs look more realistic. Generally dithering is used to lessen the effect of quantization error around gradients. To illustrate this I found an image on wikipedia with a lot of colors and color gradients, here is what would come out of the naive SimpleCV quantization (top is input, bottom is output using img.palettize(bins=256)):
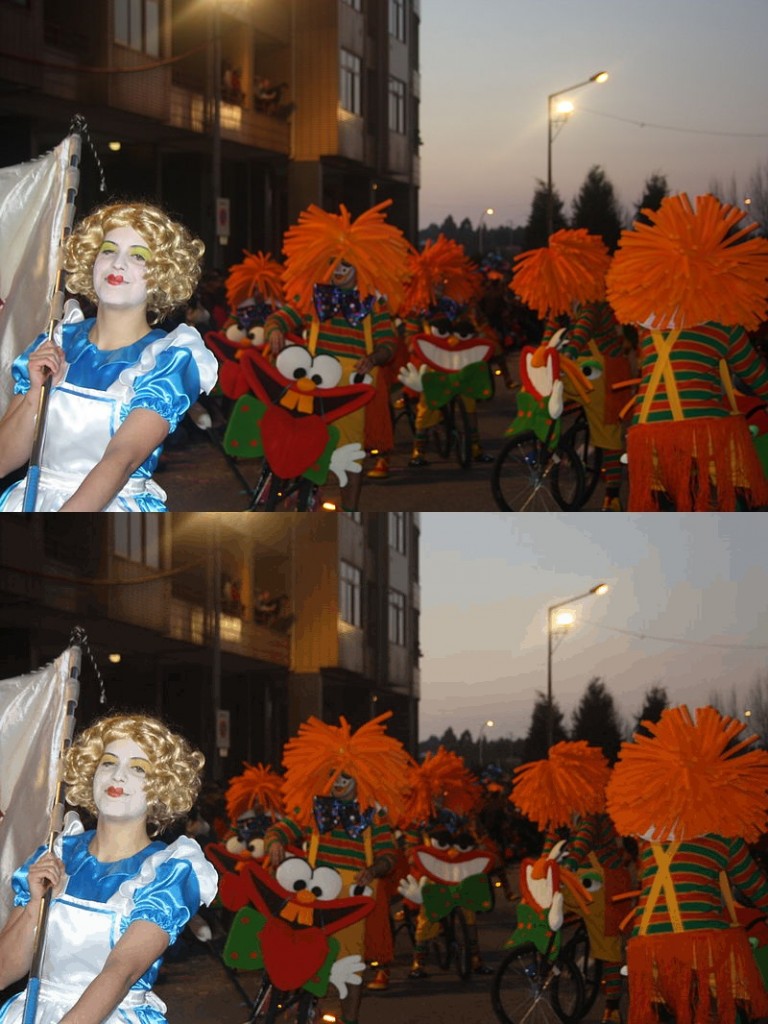
Quantization makes things look weird. The top is the input image and the bottom is the image quantized to only have 256 colors (just like a normal GIF image).
Now here is the same result using ImageMagick with GIF dithering turned on (specifically the command: convert test.jpg -dither Riemersma -colors 256 test.gif).
As you can see the dithered images look way better. The effect seems to hold even when I shrink the number of colors down to 16 but still use dithering. In the two images below the top is the output from SimpleCV quantizing to 16 colors, while the bottom is ImageMagick result with added dithering (note that there may be some re-compression artifacts from when I saved the image).
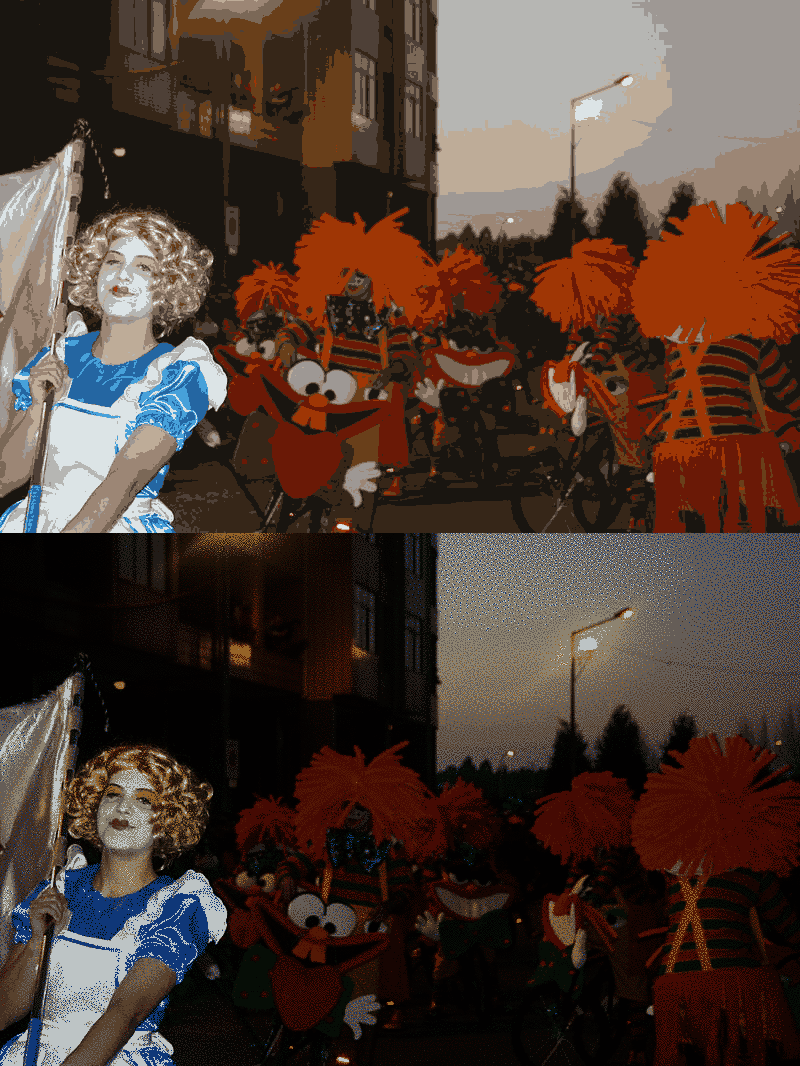
Top is SimpleCV’s output when I quantize the image to have 16 colors, while the bottom image is ImageMagicks results with 16 colors and dithering.
Hopefully in the next week or two I can read up on dithering algorithms and see if I can’t add a few to SimpleCV.


